
What Happens During the Collision Repair Process?
Understanding how collision repair works can help you prepare for inspections, repair planning, insurance coordination, repairs, refinishing, quality checks, and vehicle delivery with a clearer sense of what to expect.
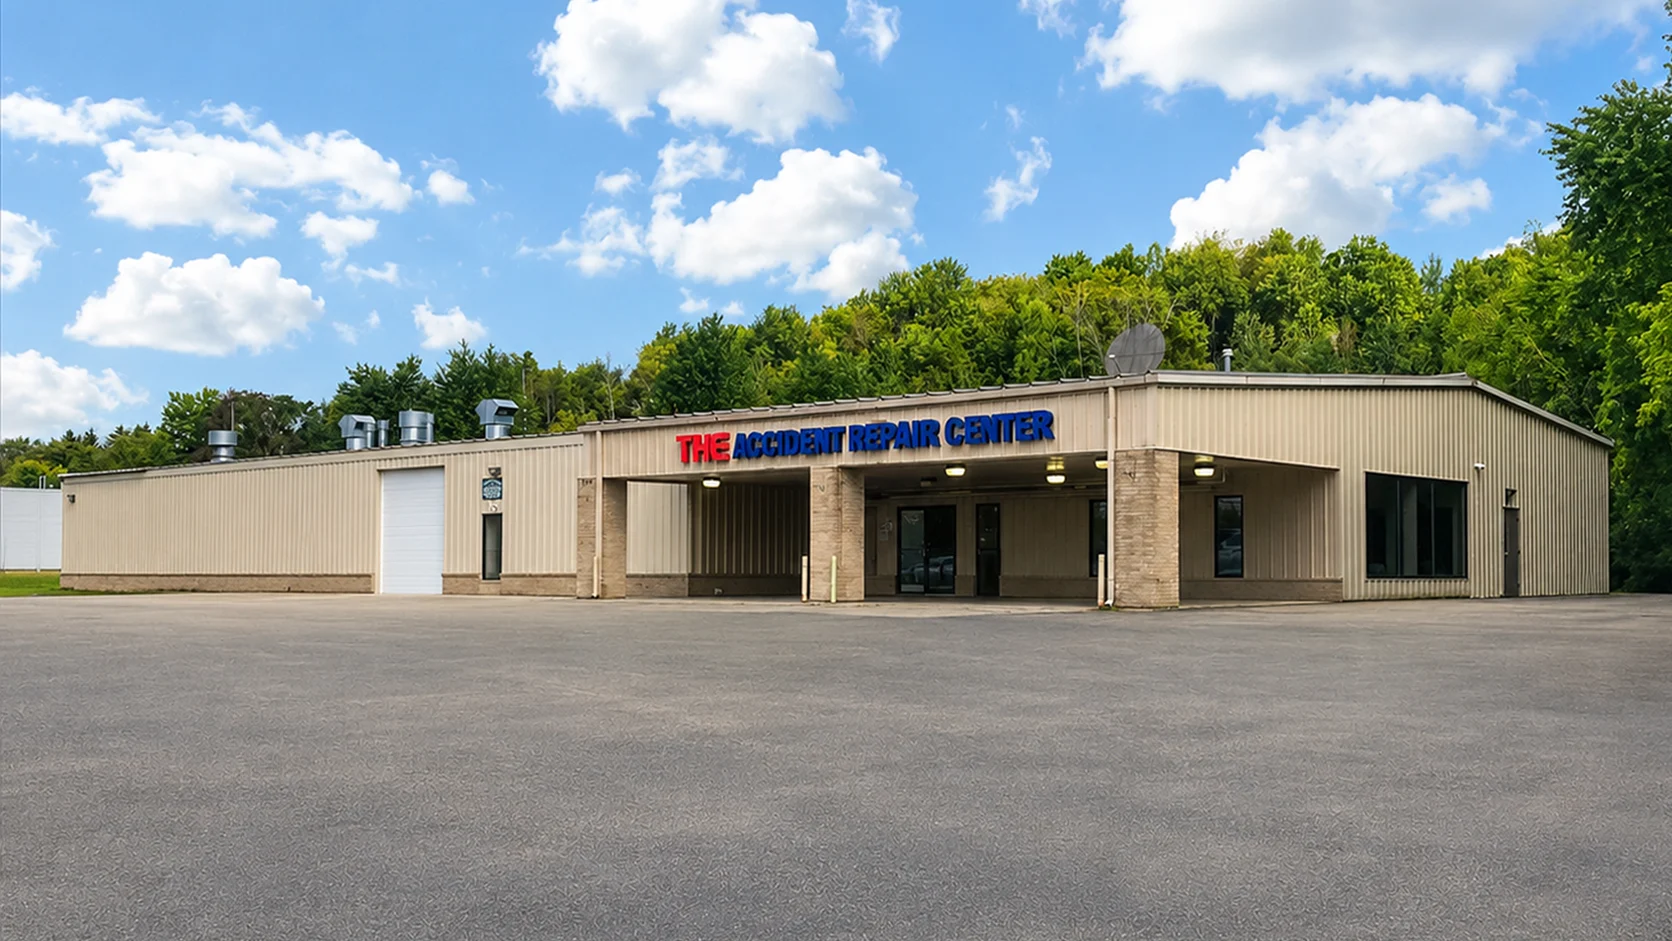
Once a damaged vehicle reaches the repair facility, the owner may receive an initial estimate and hear unfamiliar terms such as disassembly, repair planning, or supplement. The estimate or expected timeline may also change after the vehicle is inspected more closely.
Every collision is different, but most repairs follow a similar path. The process generally includes assessing the damage, preparing a repair plan, coordinating with the insurance company, completing the necessary repairs, and performing final quality checks.
The Collision Repair Process at a Glance
Six stages that make up a typical collision repair, from intake through delivery.
1. Vehicle Intake and Initial Assessment
The process begins with information about the vehicle, how the collision occurred, and any changes noticed afterward. The repair team may ask where the vehicle was struck, whether warning lights appeared, and whether it can still be driven safely.
During the initial assessment, the repair team documents visible damage, takes photographs, reviews available insurance information, and identifies areas that may need further inspection or disassembly.
This first inspection may not reveal the full extent of the damage. Exterior panels, bumper covers, lamps, trim, and interior components can conceal damaged brackets, wiring, sensors, mounting points, or structural areas.
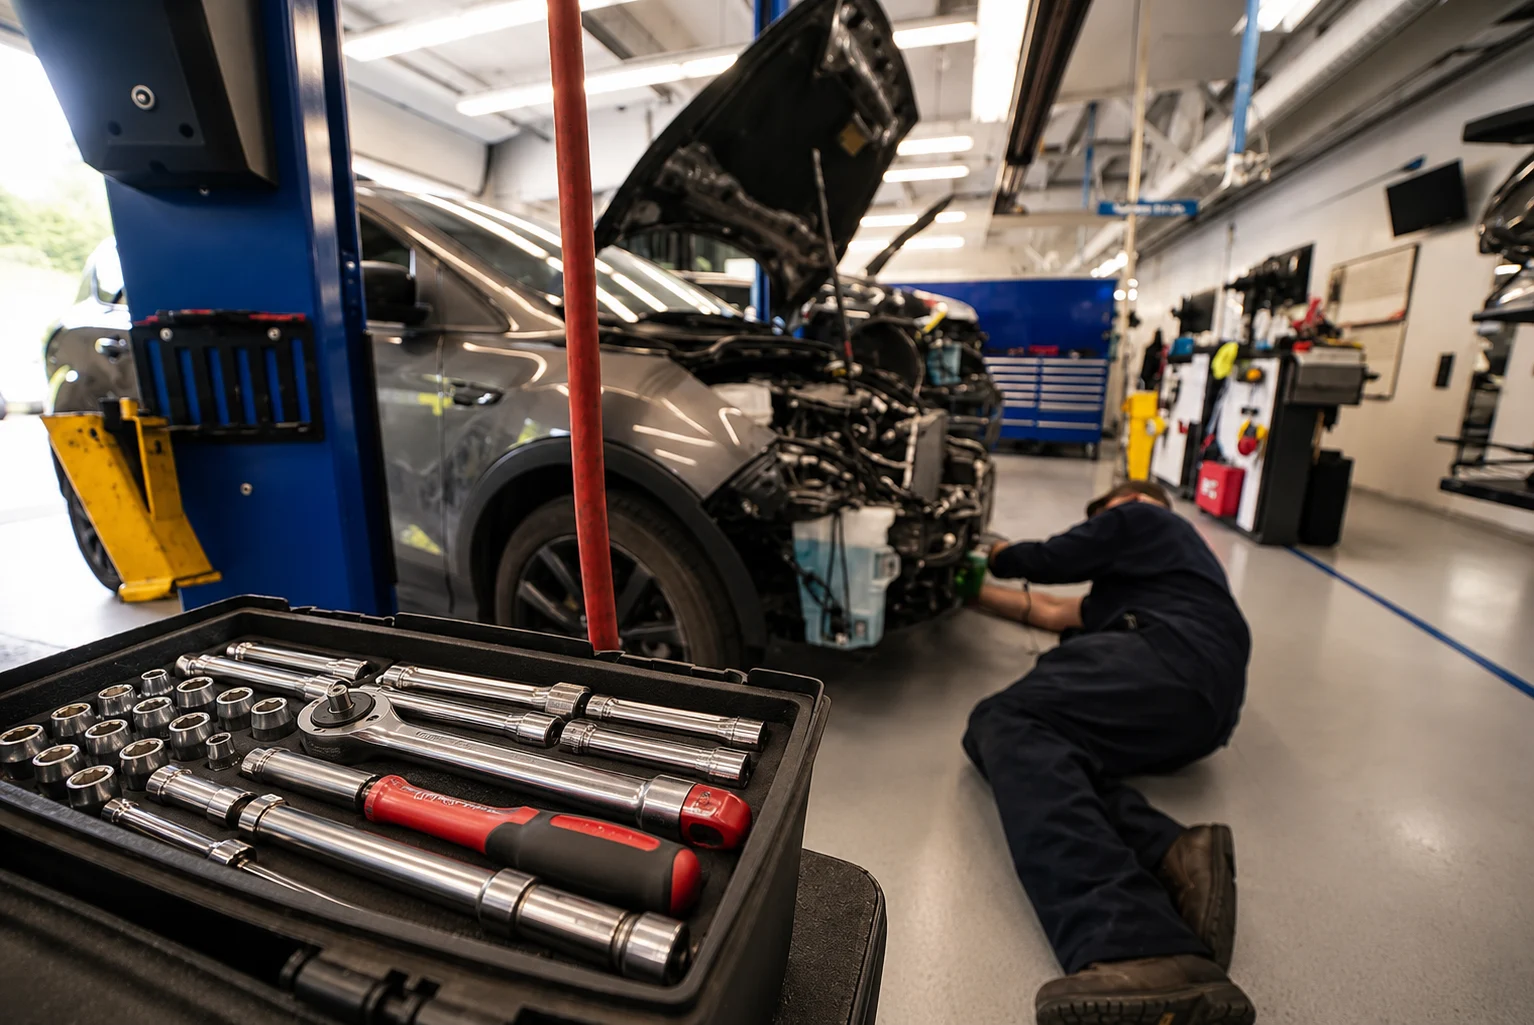
Some vehicles arrive for a scheduled assessment, while others are towed because they cannot be driven safely. The first steps depend on the vehicle’s condition, the damage, and the status of the insurance claim.
2. Disassembly and Repair Planning
After the visible damage has been documented, selected parts may need to be removed. This stage is commonly referred to as disassembly, blueprinting, or repair planning.
Removing damaged components gives the repair team access to areas that were hidden during the initial inspection. A damaged bumper cover, for example, may conceal broken mounting brackets, reinforcement damage, wiring problems, or affected safety-system components.
The repair team can then review manufacturer procedures, document additional damage, identify the necessary parts and operations, and prepare a detailed repair plan.
Initial Estimate and Detailed Repair Plan
The repair plan brings together the procedures, parts, equipment, documentation, and coordinated services needed for the repair. It gives the repair team a clearer understanding of the work before major repairs begin.
3. Insurance Review and Parts Coordination
When an insurance claim is involved, the repair facility may communicate with the insurance company about the documented repair needs.
If additional damage or required operations are identified after the first estimate, the repair facility may submit a supplement. This update can include concealed damage, added parts, manufacturer procedures, or work that could not be confirmed before disassembly.
Photographs, measurements, repair procedures, diagnostic information, invoices, and other records may be provided to support the updated repair plan.
The First Estimate May Change
The first estimate may not reflect the final repair scope. Additional damage and vehicle-specific requirements can be identified after parts are removed and the affected areas are inspected.
Parts identification and ordering also take place during this stage. The repair team uses the vehicle’s year, make, model, trim level, options, and production information to identify the correct components.
When parts arrive, they are checked for accuracy, condition, and visible shipping damage before being used.
Parts availability, insurance review, and newly discovered damage can all affect the repair schedule.
4. Structural and Body Repairs
Physical repairs can begin once the repair plan is complete and the necessary parts, procedures, and approvals are in place.
Not every collision involves structural damage. When the location or severity of the impact raises a concern, additional measurement or inspection may be needed.
Repair procedures vary by vehicle, model year, construction material, and damage location. A method used on one vehicle may not be appropriate for another.
5. Paint, Refinishing, and Safety-System Coordination
After structural and body repairs are complete, repaired and replacement panels move into refinishing. Proper surface preparation helps refinishing materials perform as intended while supporting the appearance and protection of the repaired area.
Refinishing Steps
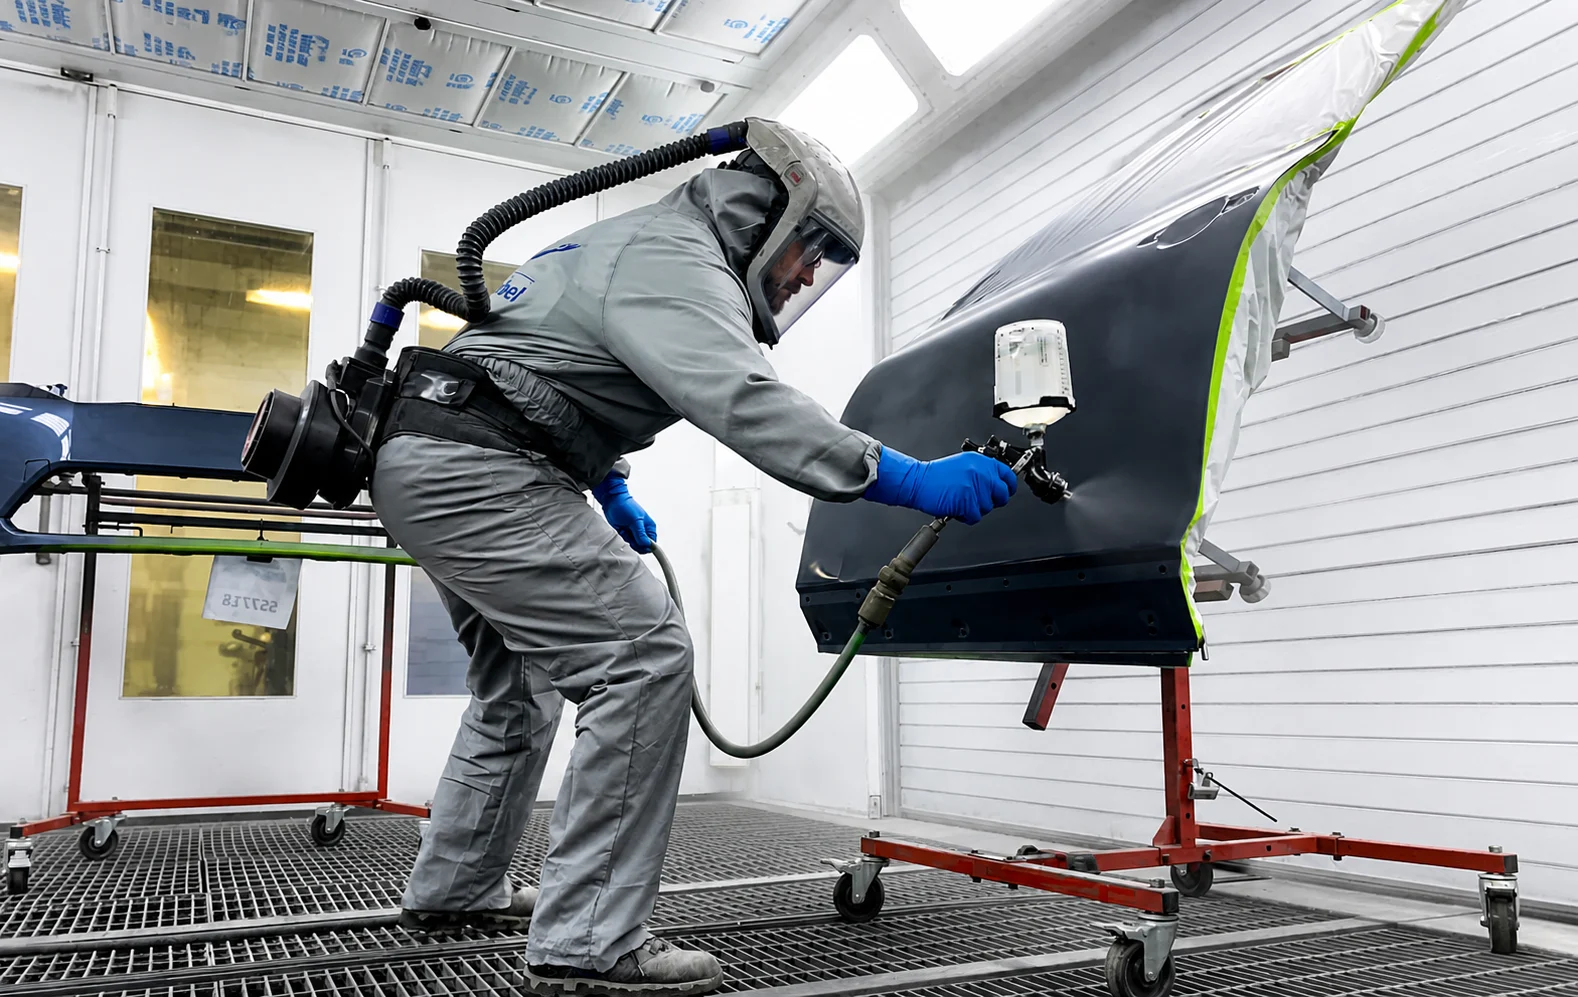
Depending on the color and repair location, nearby panels may be blended to help the repaired area match the surrounding finish.
Modern vehicles may include cameras, radar units, parking sensors, steering systems, and other advanced safety features. Collision repairs can affect some of these systems.
Depending on the vehicle and the work performed, the repair may require diagnostic scanning, inspection, programming, wheel alignment, calibration, or system verification.
When specialized work is needed, the repair facility may coordinate it with qualified dealership or service partners.
6. Reassembly, Quality Control, and Vehicle Delivery
After repairs and refinishing are complete, the vehicle moves into reassembly.
The repair team reinstalls removed components and checks fasteners, electrical connections, sealers, fluids, and related materials according to the repair plan.
Quality-control checks are then completed based on the work performed.
When the vehicle is ready, the repair facility can review the completed work, answer questions, and provide the available repair documentation.
How Long Will the Repair Take?
There is no standard repair timeline that applies to every vehicle.
The amount of time required can depend on:
Damage that appears minor can still require several repair steps. Modern vehicle construction, electronics, and safety-system requirements may add work that was not visible during the first inspection.
Frequently Asked Questions
Helpful Resources
Questions About the Collision Repair Process?
If your vehicle has been damaged, The Accident Repair Center can help you understand the next steps, from the initial assessment and repair planning through insurance coordination and repairs.
Contact our team to discuss your vehicle, your claim information, and what may be needed to begin the repair process.